
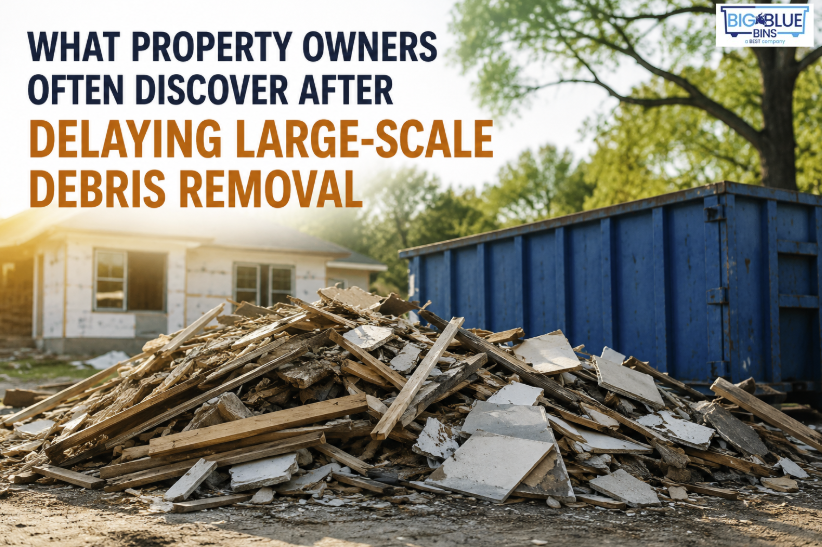
You know that feeling when you walk outside mid-renovation and your yard looks like a demolition company just gave up and left? Yeah. That happens to almost everyone.
It starts small, a few lumber scraps here, some drywall pieces there. Then suddenly, there are roofing nails hiding in the grass, cardboard blowing down the street, and random debris covering every inch of your driveway. What was supposed to be an exciting home improvement project now feels like a disaster zone.
Here's the thing, it doesn't have to go that way.
If you're planning a renovation, getting trusted waste container rentals in Black Diamond lined up before work starts is honestly one of the best decisions you can make. Most people figure that out after the mess has already taken over. Don't be like most people.
Why Debris Gets Out of Control So Fast
Most homeowners genuinely underestimate how much waste a renovation produces. It's not their fault; it's just hard to picture until you're staring at it.
A kitchen remodel isn't just cabinets and countertops coming out. It's packaging, old appliances, drywall scraps, flooring offcuts, broken tiles, and random hardware, all piling up at once. A roofing job leaves behind old shingles, underlayment, nails, and felt paper scattered across the entire property.
The volume catches people off guard every single time. And once you're behind on cleanup, catching up feels almost impossible.
Why Construction Debris Is a Bigger Problem Than You Think
I think most people shrug off construction debris as a cosmetic issue. That's honestly a mistake.
1. Safety comes first- Loose nails, broken tile, and metal scraps are a real hazard for your kids, pets, and workers. Roofing nails in the grass are practically invisible until someone finds one the painful way.
2. Your property takes a hit too- Heavy materials cause driveway cracking and staining faster than you'd think. And using the lawn as a staging area? I've seen grass take an entire summer to recover from just one week of that.
3. Projects slow down- A cluttered site means workers navigate around junk instead of actually working. That costs time, and time costs money.
How to Actually Stay on Top of It
Step 1: Make a Waste Plan Before Anyone Swings a Hammer
Seriously, do this first. Before demolition starts, figure out:
Where debris will be collected on-site
How and when it gets removed
Who's responsible for daily cleanup
It sounds obvious. Most people skip it anyway and regret it by day two.
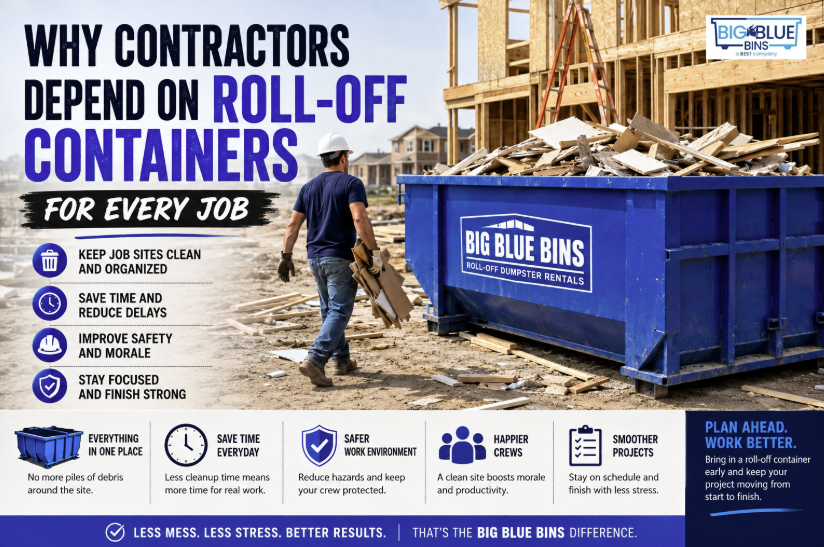
Step 2: Get the Right Dumpster on Site Early
This is the single biggest difference-maker I've seen. A roll-off dumpster rental gives everyone on site one clear place to toss waste, no piling things in the corner of the yard. No "we'll deal with it later" stacks near the garage.
Here's a simple guide for sizing:
1. Garage cleanout or small remodel → Residential dumpster rental (10–15 yard)
2. Kitchen or bathroom renovation → Residential dumpster rental (15–20 yard)
3. Roofing, flooring, or full remodel → Construction dumpster rental (20–30 yard)
4. Home addition or new construction → Construction dumpster rental (30–40 yard)
My honest opinion: Always go slightly bigger than you think you need. A dumpster that's a little too big is a minor inconvenience. One that's too small turns into a real problem.
Step 3: Pick One Staging Area and Stick to It
Choose one dedicated spot for all materials and debris — and don't let it creep beyond that zone. A few things to keep in mind:
Pick a hard surface like your driveway or a concrete pad
Keep the area away from your lawn and garden beds
Make the boundary clear to every contractor on site
Once debris spreads beyond that zone, it's very hard to pull back
Step 4: Clean Up for Ten Minutes Every Single Day
This is the advice nobody follows and everyone wishes they had.
A quick end-of-day sweep:
Picks up loose nails and sharp fragments
Moves larger scraps into the dumpster
Keeps walkways clear and safe
Takes about ten minutes
What usually works is making this a non-negotiable part of the day — like locking up the site. What often fails is leaving it up to "whoever has time." Nobody ever has time.
Step 5: Sort Recyclables as You Go
Clean wood, cardboard, metal, and concrete can often be recycled rather than landfilled. It takes a little sorting during the project, but it cuts down on disposal volume and usually reduces costs, too.
Don't try to sort it all at the end. You won't. Do it as materials come out. If you're unsure what can be recycled and what can't, Big Blue Bins can help you figure that out before the project even starts.
Protecting Your Driveway and Lawn Specifically
These two areas take the worst beating during any renovation. A few habits that actually help:
Lay plywood sheets under heavy materials to spread the weight and protect surfaces
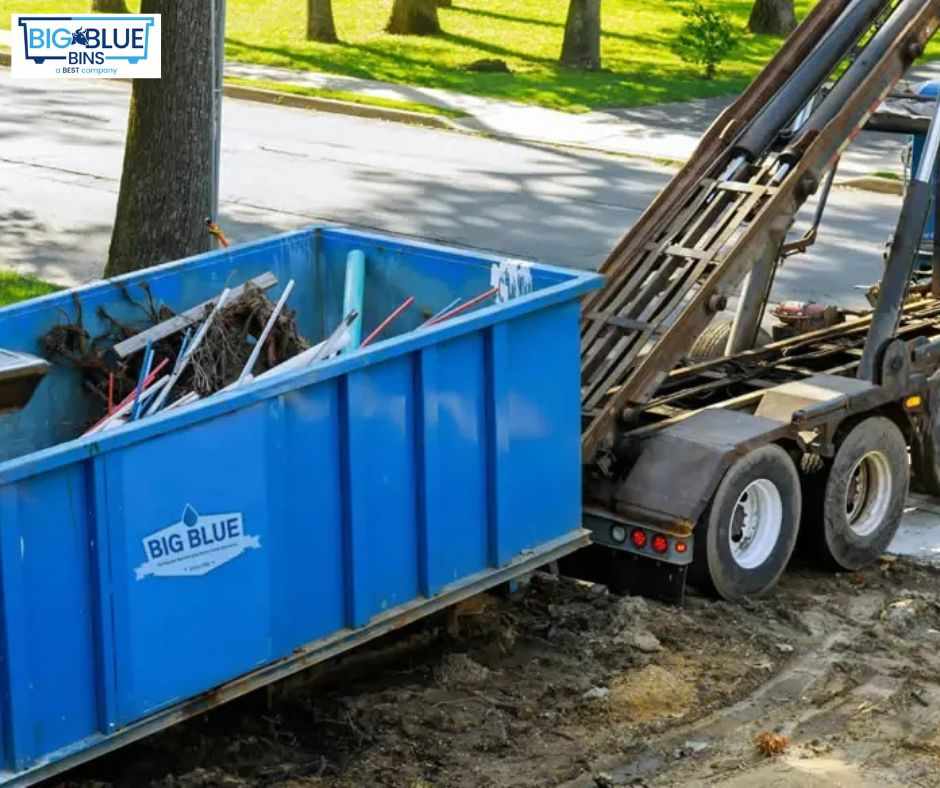
Keep your dumpster on a hard surface with boards underneath to prevent driveway damage from the container itself
Never stage materials on the lawn — even a few days is enough to cause damage that lasts weeks
Use a magnetic nail sweeper after roofing work — nails in grass are impossible to spot until it's too late
The Bigger Picture: Site Organization Matters
Debris management isn't separate from how well your project runs — it's directly connected. There's a reason the best contractors are also the cleanest ones on site. If you want to dig deeper into keeping renovation sites organized from start to finish, that mindset applies to every part of the project, not just waste.
Clean sites run faster. Messy sites cost more. That's just how it goes.
Key Takeaways
Plan waste disposal before demolition starts and decide where debris goes before the first wall comes down.
A roll-off dumpster rental is the most effective tool for keeping waste contained in one place throughout the project.
Size up, not down, slightly more capacity than you think you need and it almost always pays off.
Protect your driveway and lawn deliberately, use plywood under heavy loads and keep staging off the grass.
Ten minutes of daily cleanup beats three hours at the end of the week, every single time.
Conclusion
Construction is messy. That's just the reality of it.
But a messy project doesn't have to mean a messy property. The difference between a yard that stays manageable and one that looks abandoned isn't effort; it's planning. The people who stay ahead of debris from day one don't work harder. They just planned better.
What usually works is simple: a waste plan, the right dumpster size, and ten minutes of cleanup each day. What often fails is waiting until the project is "done" to think about any of this.
That's exactly why Big Blue Bins makes it easy to get the right container on site before work even begins, so the plan is already in place when the first wall comes down.
FAQs
1. How do I stop construction debris from spreading across my yard?
Set up a designated waste area, use a roll-off dumpster, and clean up daily to keep debris under control.
2. Do I really need a dumpster rental for a small renovation project?
Yes. Even small projects create more waste than expected, and a dumpster helps keep the area clean.
3. What types of debris can go into a construction dumpster?
Most accept wood, drywall, roofing materials, flooring, and similar construction debris. Check with your provider for restrictions.
4. How often should a construction site be cleaned during a project?
Daily. Regular cleanup improves safety and prevents debris from piling up.
5. Can construction debris actually damage my driveway?
Yes. Heavy or sharp materials can cause cracks, scratches, or stains if left unattended.
6. What's the difference between a residential and construction dumpster rental?
Residential dumpsters are ideal for smaller cleanups, while construction dumpsters are designed for heavier debris.
7. Are there eco-friendly options for disposing of construction waste?
Yes. Many materials, such as metal, wood, and cardboard, can often be recycled.
Write a comment ...